How to Properly Lay Glass and Stone Mosaics?
March 18,2022
In-home decoration, project deco glass, and stone mosaics are mainly used for the decoration of walls and floors. The characteristics of a small area and many colors make mosaics have countless combinations of styles. Designers can use their design inspiration to maximize the beauty of glass and stone mosaics, showing their charm and the taste of their owners.
However, using inappropriate paving methods not only fails to achieve the desired effect but also wastes materials. Therefore, how to properly lay the glass and stone mosaics became a problem. Next, in this blog, I will share some simple and practical methods for you.
8 Steps for Laying Glass and Stone Mosaics

- Check the construction materials
Before construction, we need to carefully pack the bliss midnight glass and stone mosaic in the box to ensure that there is enough mosaic to complete the job. On each box, we will display the model, color number, production batch number, and other details of the product.
- Flatten the wall foundation
This step requires us to flatten the foundation of the wall, and the flattened wall must be smooth and the same color.
- Line
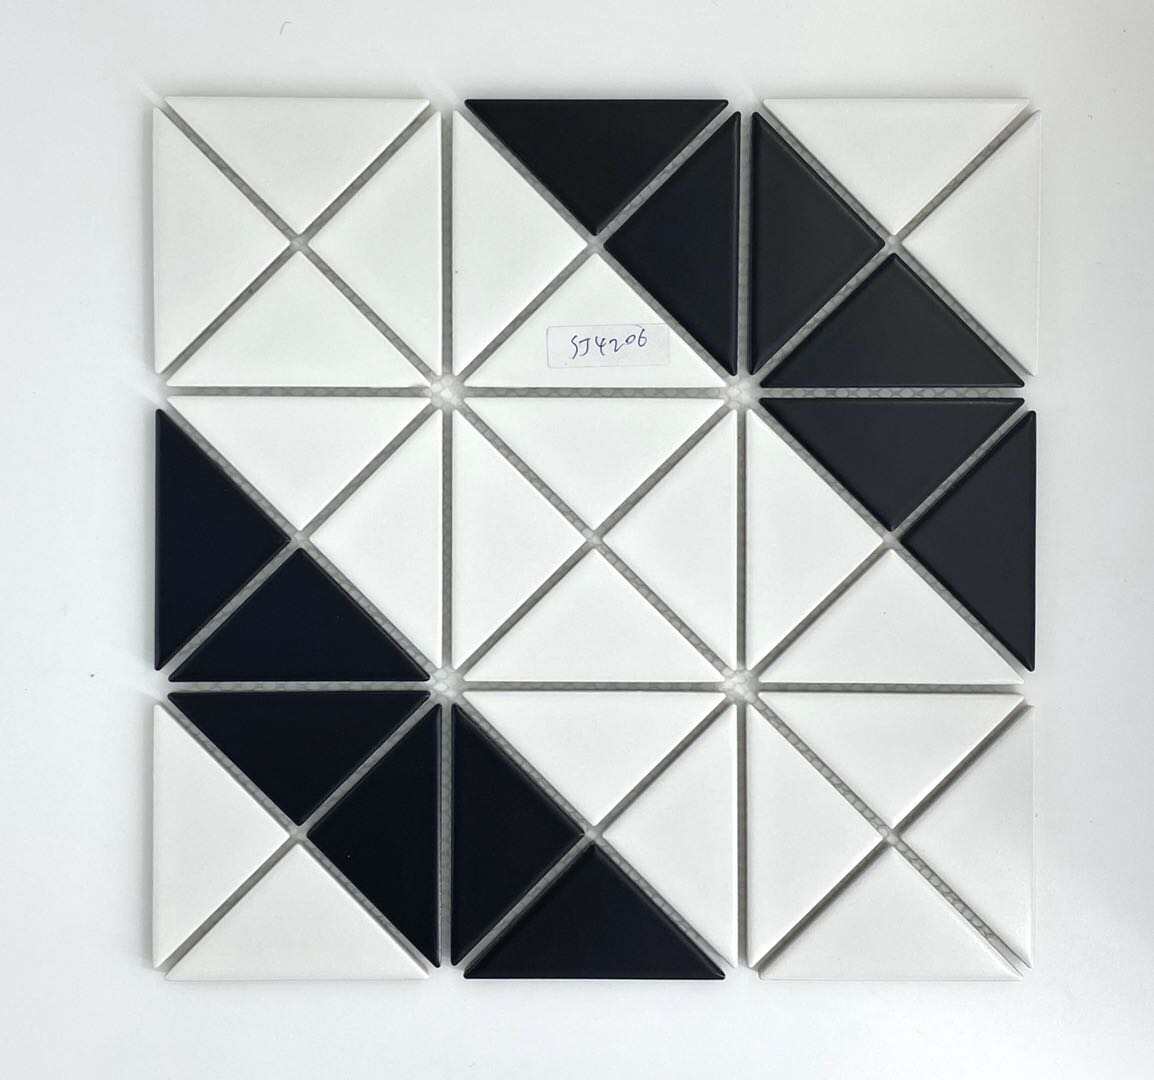
Trace the wall to note the exact location of each glass and stone mosaic. Spread 3 mosaics on the ground side by side and measure the overall width. Next, use a ruler and a spirit level to draw the measured dimensions vertically and horizontally on the wall to form a large square. Then divide the large square into 9 squares, and put 1 mosaic in each square.
- Prepare tile glue
Be prepared to mix and apply the tile glue proportionally, but not over the area of the mosaic. Next, we smooth out the tile glue with plaster with a smooth edge. Now, the mosaic is ready to be placed on the wall.
- Reinforcement
After each tile is positioned, we need to tap the surface of the mosaic with a greyboard to make it firmly attached to the wall.
- Ensure that the gray seam is consistent
After each sandhill brick glass and stone mosaic has been fixed, the gap between the bricks must be determined to a uniform width before starting to put the caulk. This is a process that requires the most patience in the process of laying mosaics, but it is the most important part of the laying process.
- Sealant
We need to have the required caulk ready. Then we can use a small gray spatula to take a small amount of caulk each time and apply it evenly to the mosaic surface. In this link, we need to ensure that all the ash joints can be filled and there is no excess residue.
- Clean
Before the filler dries out, we start cleaning the surface of the glass and stone mosaics. At this time, we need to prepare two buckets, one for new detergent and one for clean water. First, soak a rag in the bucket of detergent without wringing it out, and then wipe the mosaic surface. Then soak a sponge in a second bucket of clean water and use the sponge to rub the surface of the mosaic to remove any residue.
In the End
I believe that by following the detailed steps above, you will be able to lay your glass and stone mosaics. If you are interested in our sandhill brick/bliss midnight/project deco glass and stone mosaic, please contact us.